
Bollard Installations
by Paul Bollard |7 December 2022 | Bollard Installation Guide
Disclaimer
ALL Readers: The purpose of this page is to give a rough overview of some basic bollard installation. installation can be done in different ways, each job are different.
Safety before you dig
When installing in-ground bollards, it is important to take safety precautions on the job site. Depending on the type of installation, you may need to wear protective gear such as gloves, goggles, and a hard hat. Make sure to remove any obstacles from the area before beginning your work. Additionally, be mindful of any utility lines that may be in the vicinity of the bollard installation. If there are any utility lines, you should always call 811 or your local utility provider to have them marked off before digging. This will help ensure that you don’t accidentally hit any pipes or wires while you’re working. Finally, make sure to follow all local regulations and safety guidelines when installing in-ground bollards.
Call before you dig
Alberta: ALBERTA ONE CALL VISIT WEBSITE
British Columbia: BC ONE CALL VISIT WEBSITE
Manitoba: INFO EXCAVATION VISIT WEBSITE
NewFoundland: INFO EXCAVATION VISIT WEBSITE
Nova Scotia: INFO EXCAVATION VISIT WEBSITE
Ontario: ONTARIO WEBSITE VISIT WEBSITE
Prince Edward Island: INFO EXCAVATION VISIT WEBSITE
Quebec INFO EXCAVATION VISIT WEBSITE
Saskatchewan SASK 1ST CALL VISIT WEBSITE
Accident happend
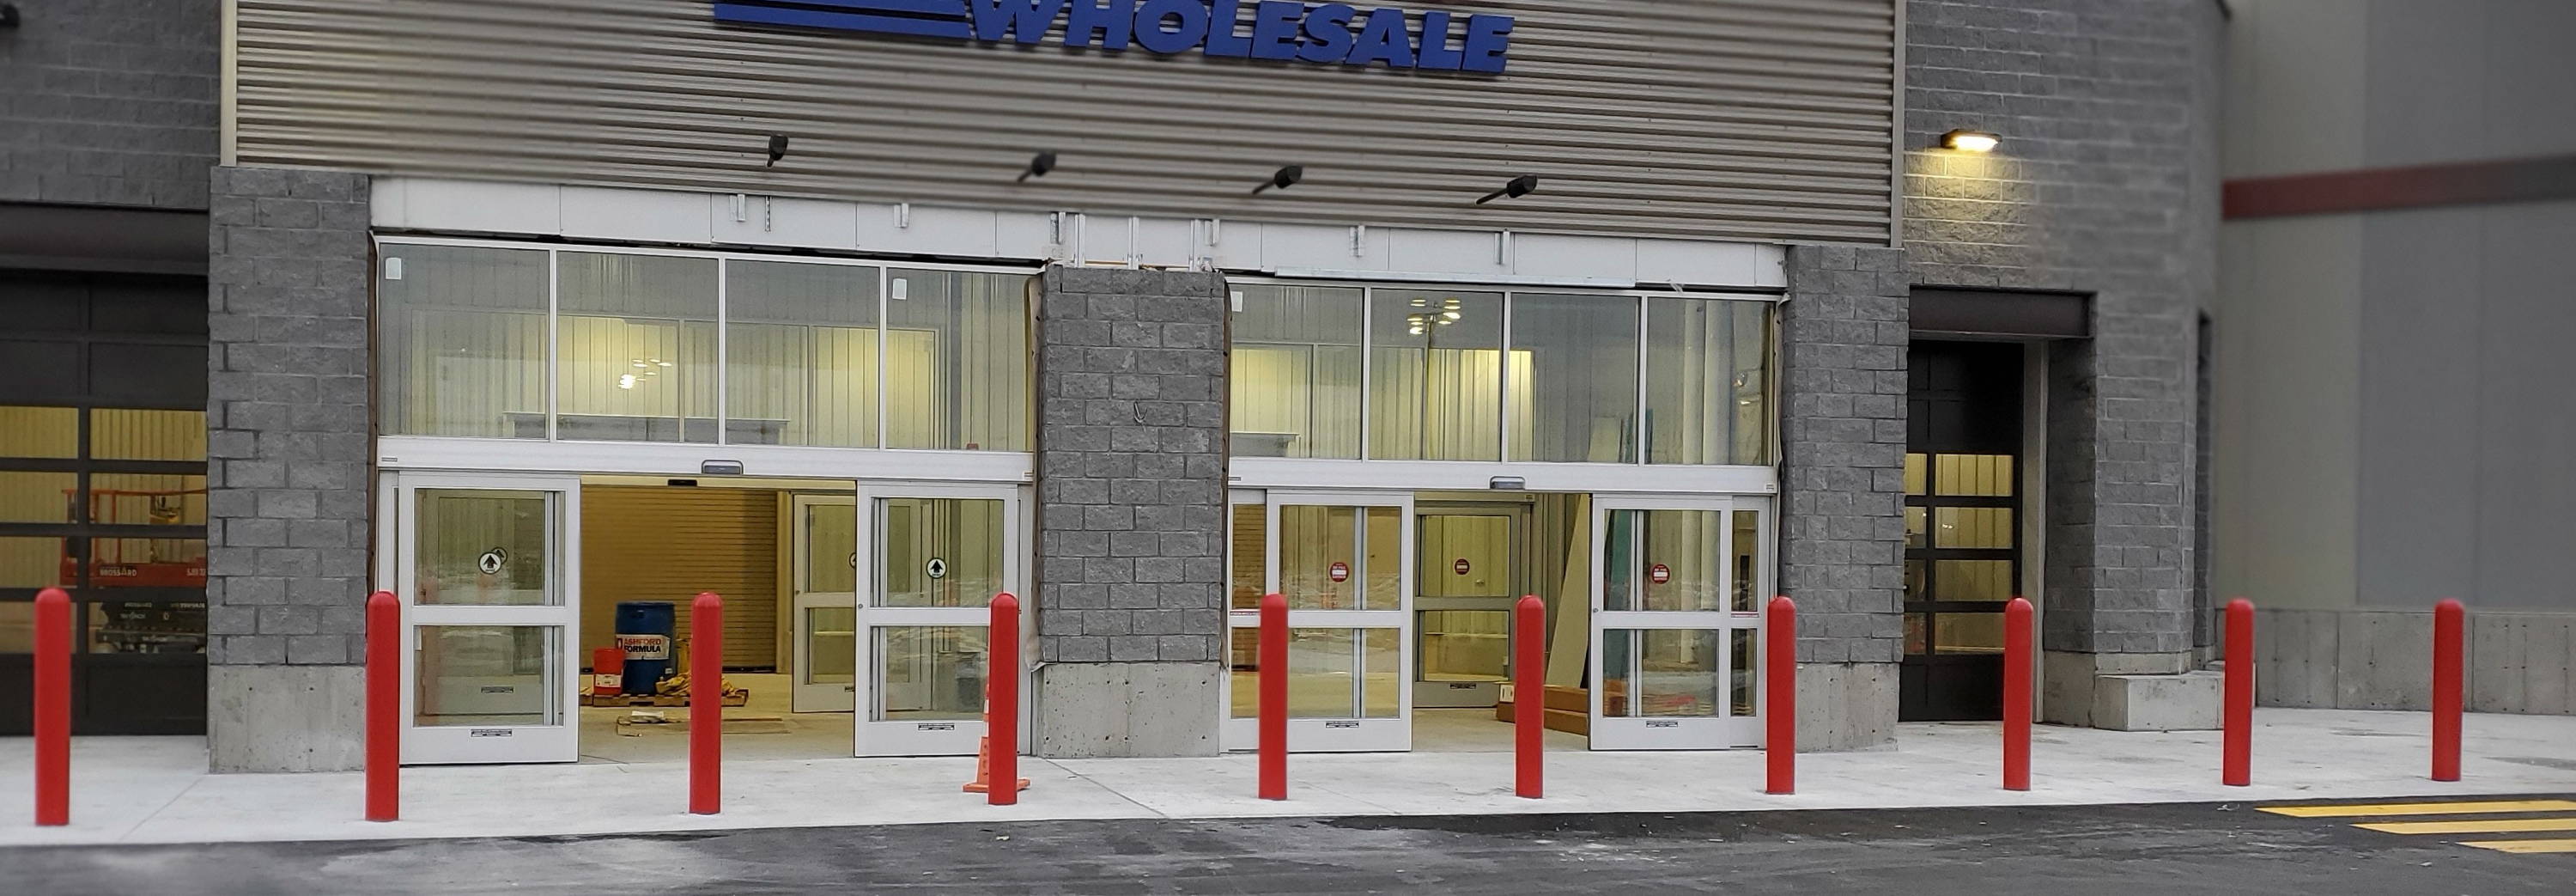
Obviously, you can’t deter an accident. Errant vehicles happen. Accidents happen at any time and they are most dangerous when employees and customers are present. It’s not only ram-raids you should consider, but accidents too. It’s one thing to lose money. It’s quite another to lose a life.
Pick the right bollards
When selecting the type of bollards you will be using, one important consideration is pipe nominal size. Pipe nominal size is an industry standard measurement of the diameter of the pipe wall and is usually denoted in inches (i.e. 4.5”, 6 5/8”, 8 5/8”). This is an important factor to consider because it will directly affect the strength and durability of your bollards. Generally, the larger the pipe nominal size, the thicker the pipe wall and the more robust your bollards will be. Therefore, if you require stronger bollards to prevent more severe impacts, it is advisable to opt for a larger pipe nominal size.
It is also important to note that there are different types of steel used to manufacture bollards. Different steel grades have different strengths and levels of corrosion resistance, so make sure you pick the right steel grade for your specific requirements. In any case, make sure you consult a professional installer or manufacturer before deciding on which pipe nominal size and steel grade are best suited for your needs.
When it comes to choosing the right type of pipe for your project, it’s important to understand the differences between cedule 40 pipe and other types of pipe. Cedule 40 pipe is generally made of a combination of mild steel, carbon steel, and alloy steels. It has a medium thickness wall compared to other types of pipe, which makes it an ideal choice for many projects.
The walls of cedule 40 pipe are slightly thicker than regular schedule pipes, making them more durable and able to withstand higher pressure. The inside diameter is also slightly larger than regular pipes, making it a better choice for moving large amounts of liquid or gas through your system. This can be especially useful if you’re installing bollards .
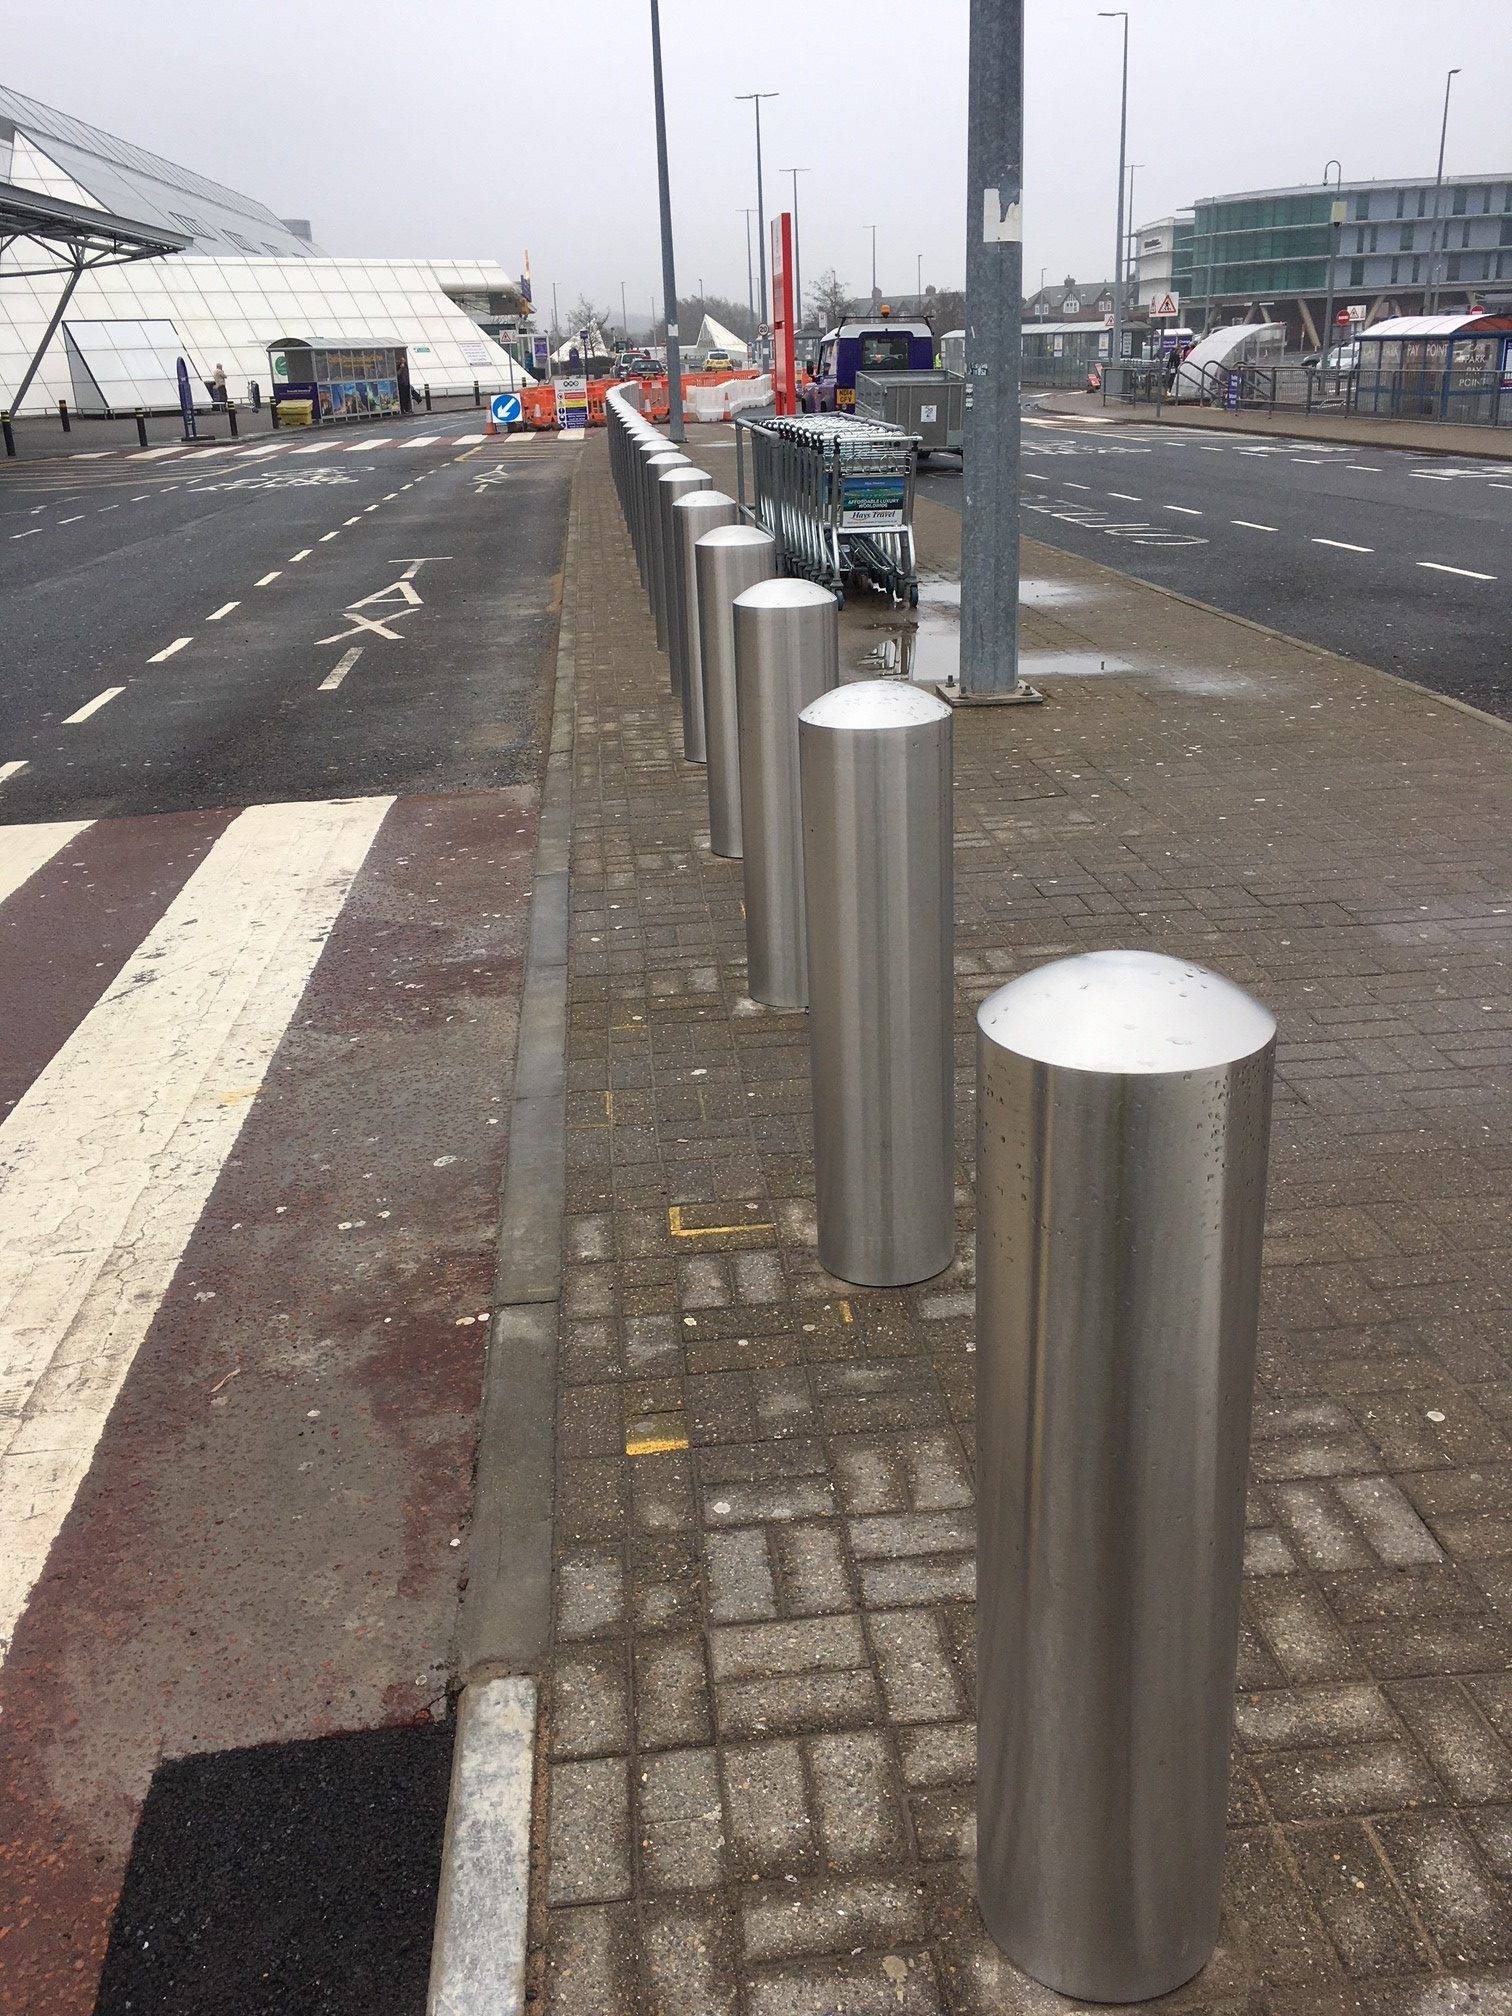
The Step-by-Step Guide to Installing Security Bollards
Security bollards are a great way to protect a property and add an extra layer of security. Whether you're looking to guard a business, school, or home, installing bollards can be a simple and effective solution. In this blog post, we'll go through the step-by-step process for installing security bollards to help you get started. We'll cover everything from preparation and tools to the actual installation process, so you can get your bollards up in no time.
Prepping the site
Using a core drill or a Hydraulic auger make 8 to 12 inches holes 4 to 5 feet deep. Depending on the size of your bollard, you may need more or fewer anchors. Place the anchors in the ground and use the concrete mix to secure them in place. After the anchors are set, use a leveler to ensure they are set correctly and then smooth out the top of the concrete. When the concrete has hardened, you can begin to install the bollards. Start by attaching them to the anchors and then tightening them with either bolts or concrete anchors. For extra security, you can add heavy steel plates around the anchor points. This will help ensure that no one will be able to tamper with your bollards. Lastly, use galvanized steel caps to cap off the top of the bollard and complete the installation. By following these steps, you can have your bollards properly installed and provide extra security in no time!


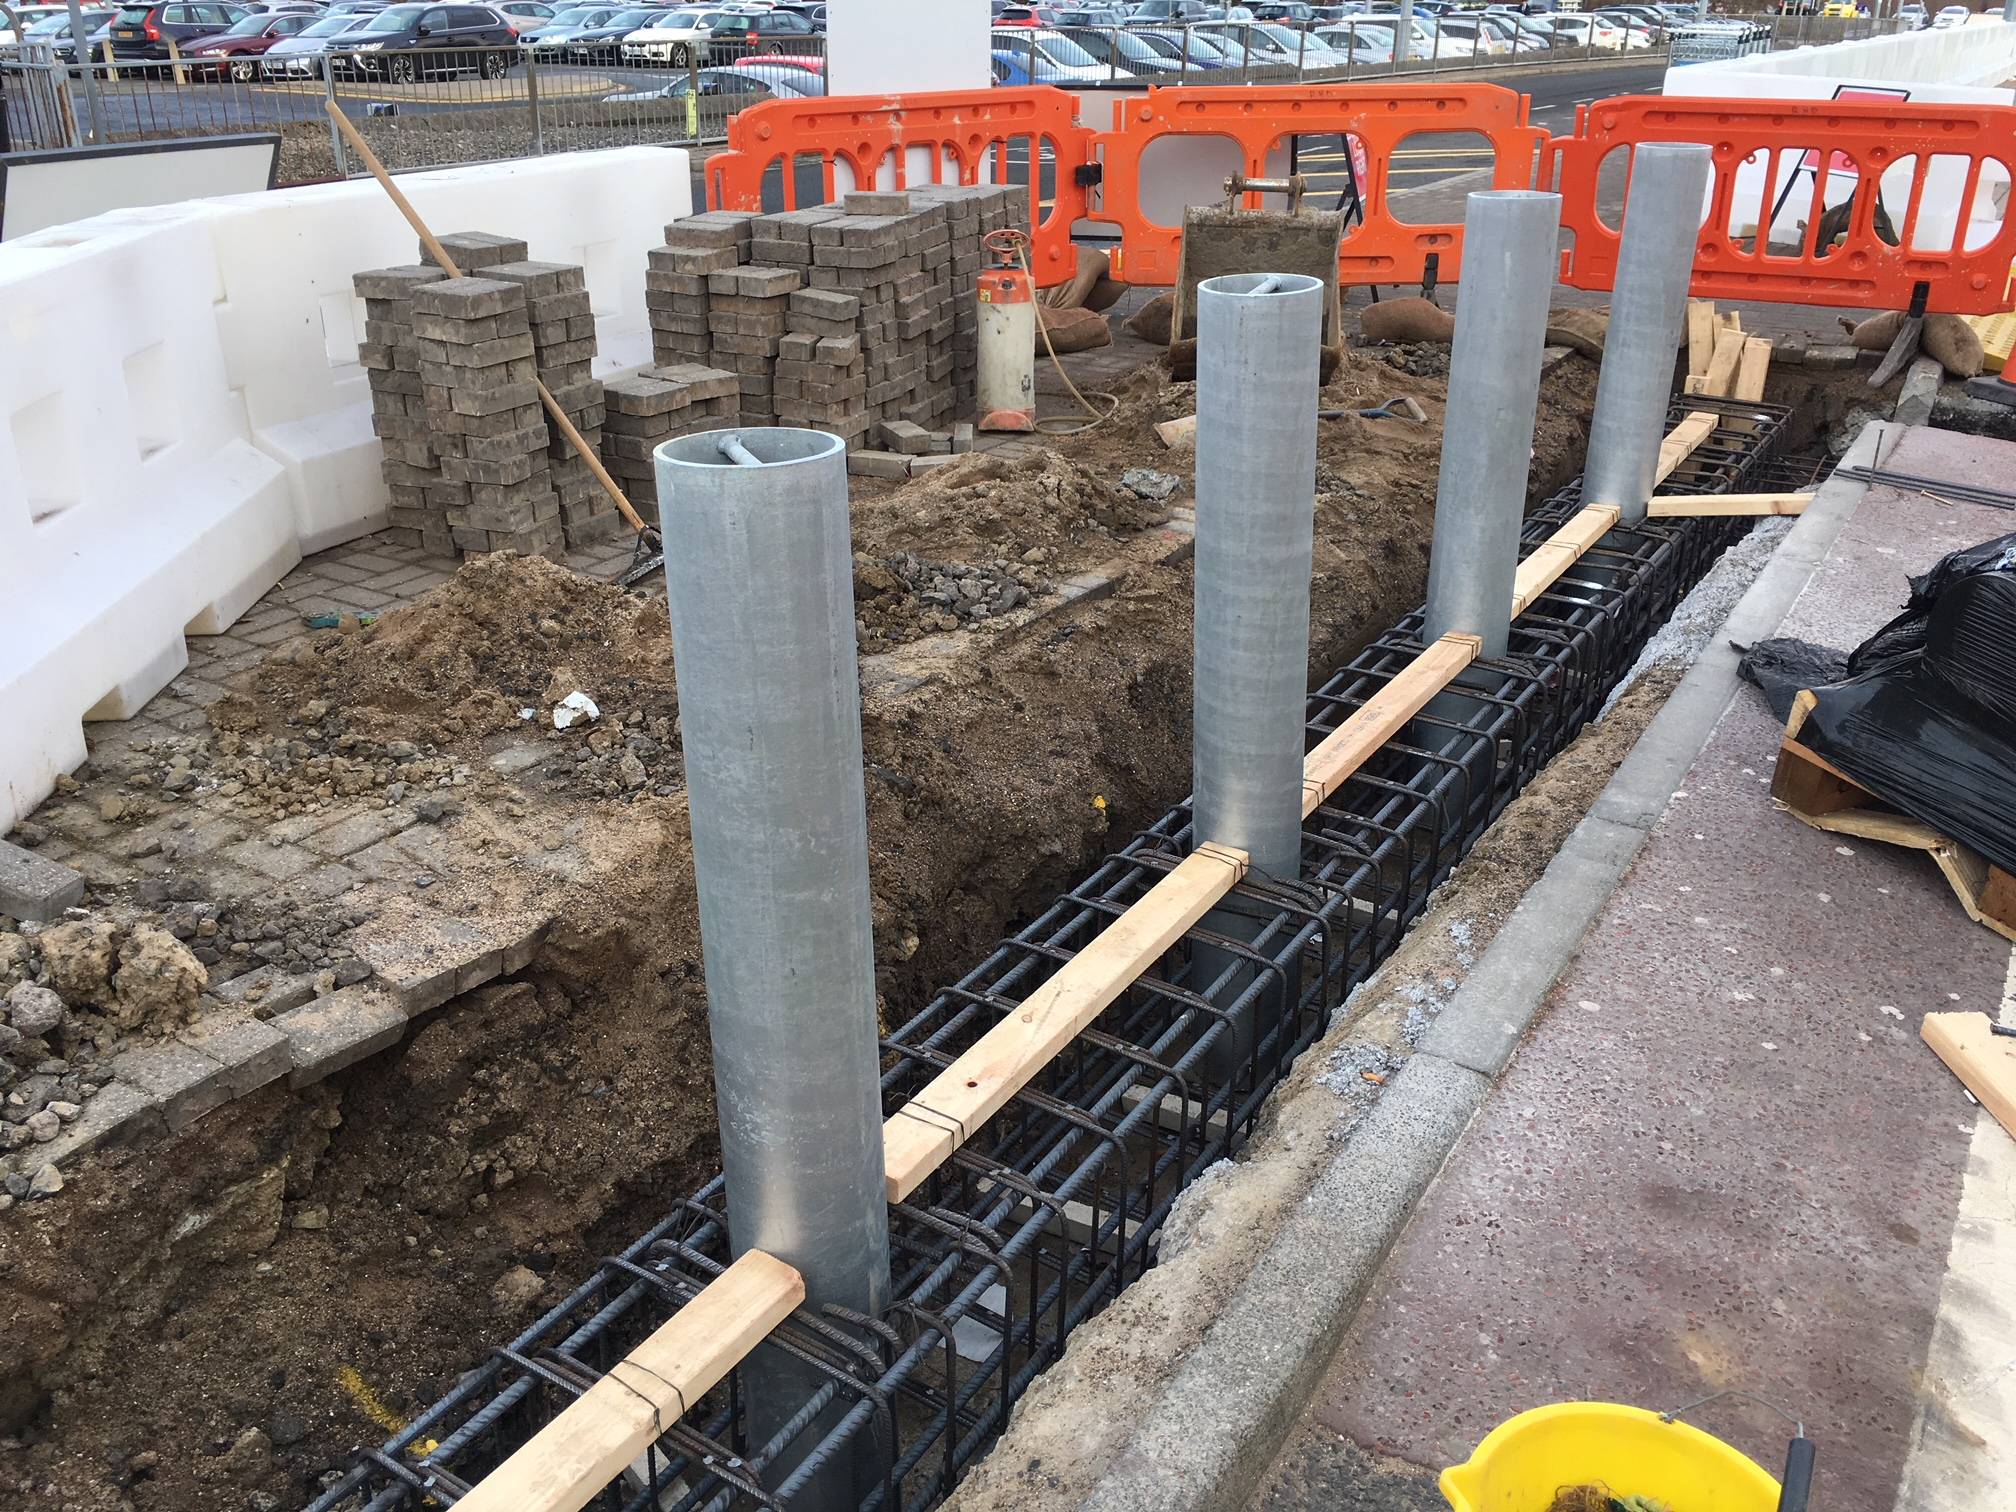
Planning Your Installation
installing bollards 4 feet apart and 48 inches deep is the ideal setup for maximum security. Before beginning the installation process, you’ll need to determine where exactly you want the bollards placed in order to create an effective perimeter. Then, you’ll need to figure out what size and type of bollard best suits your needs. You can find a variety of security bollard options on the market, ranging from smaller surface mount bollards to larger embedded models. You should also consider any other existing obstructions in the area before you make your selection. Once you’ve made your choice, you can move on to the actual installation process. Begin by measuring the area for your security bollard installation and mark the spots for each post with spray paint or landscaping flags. Next, you’ll need to create an excavation for each of the posts you’ve marked.
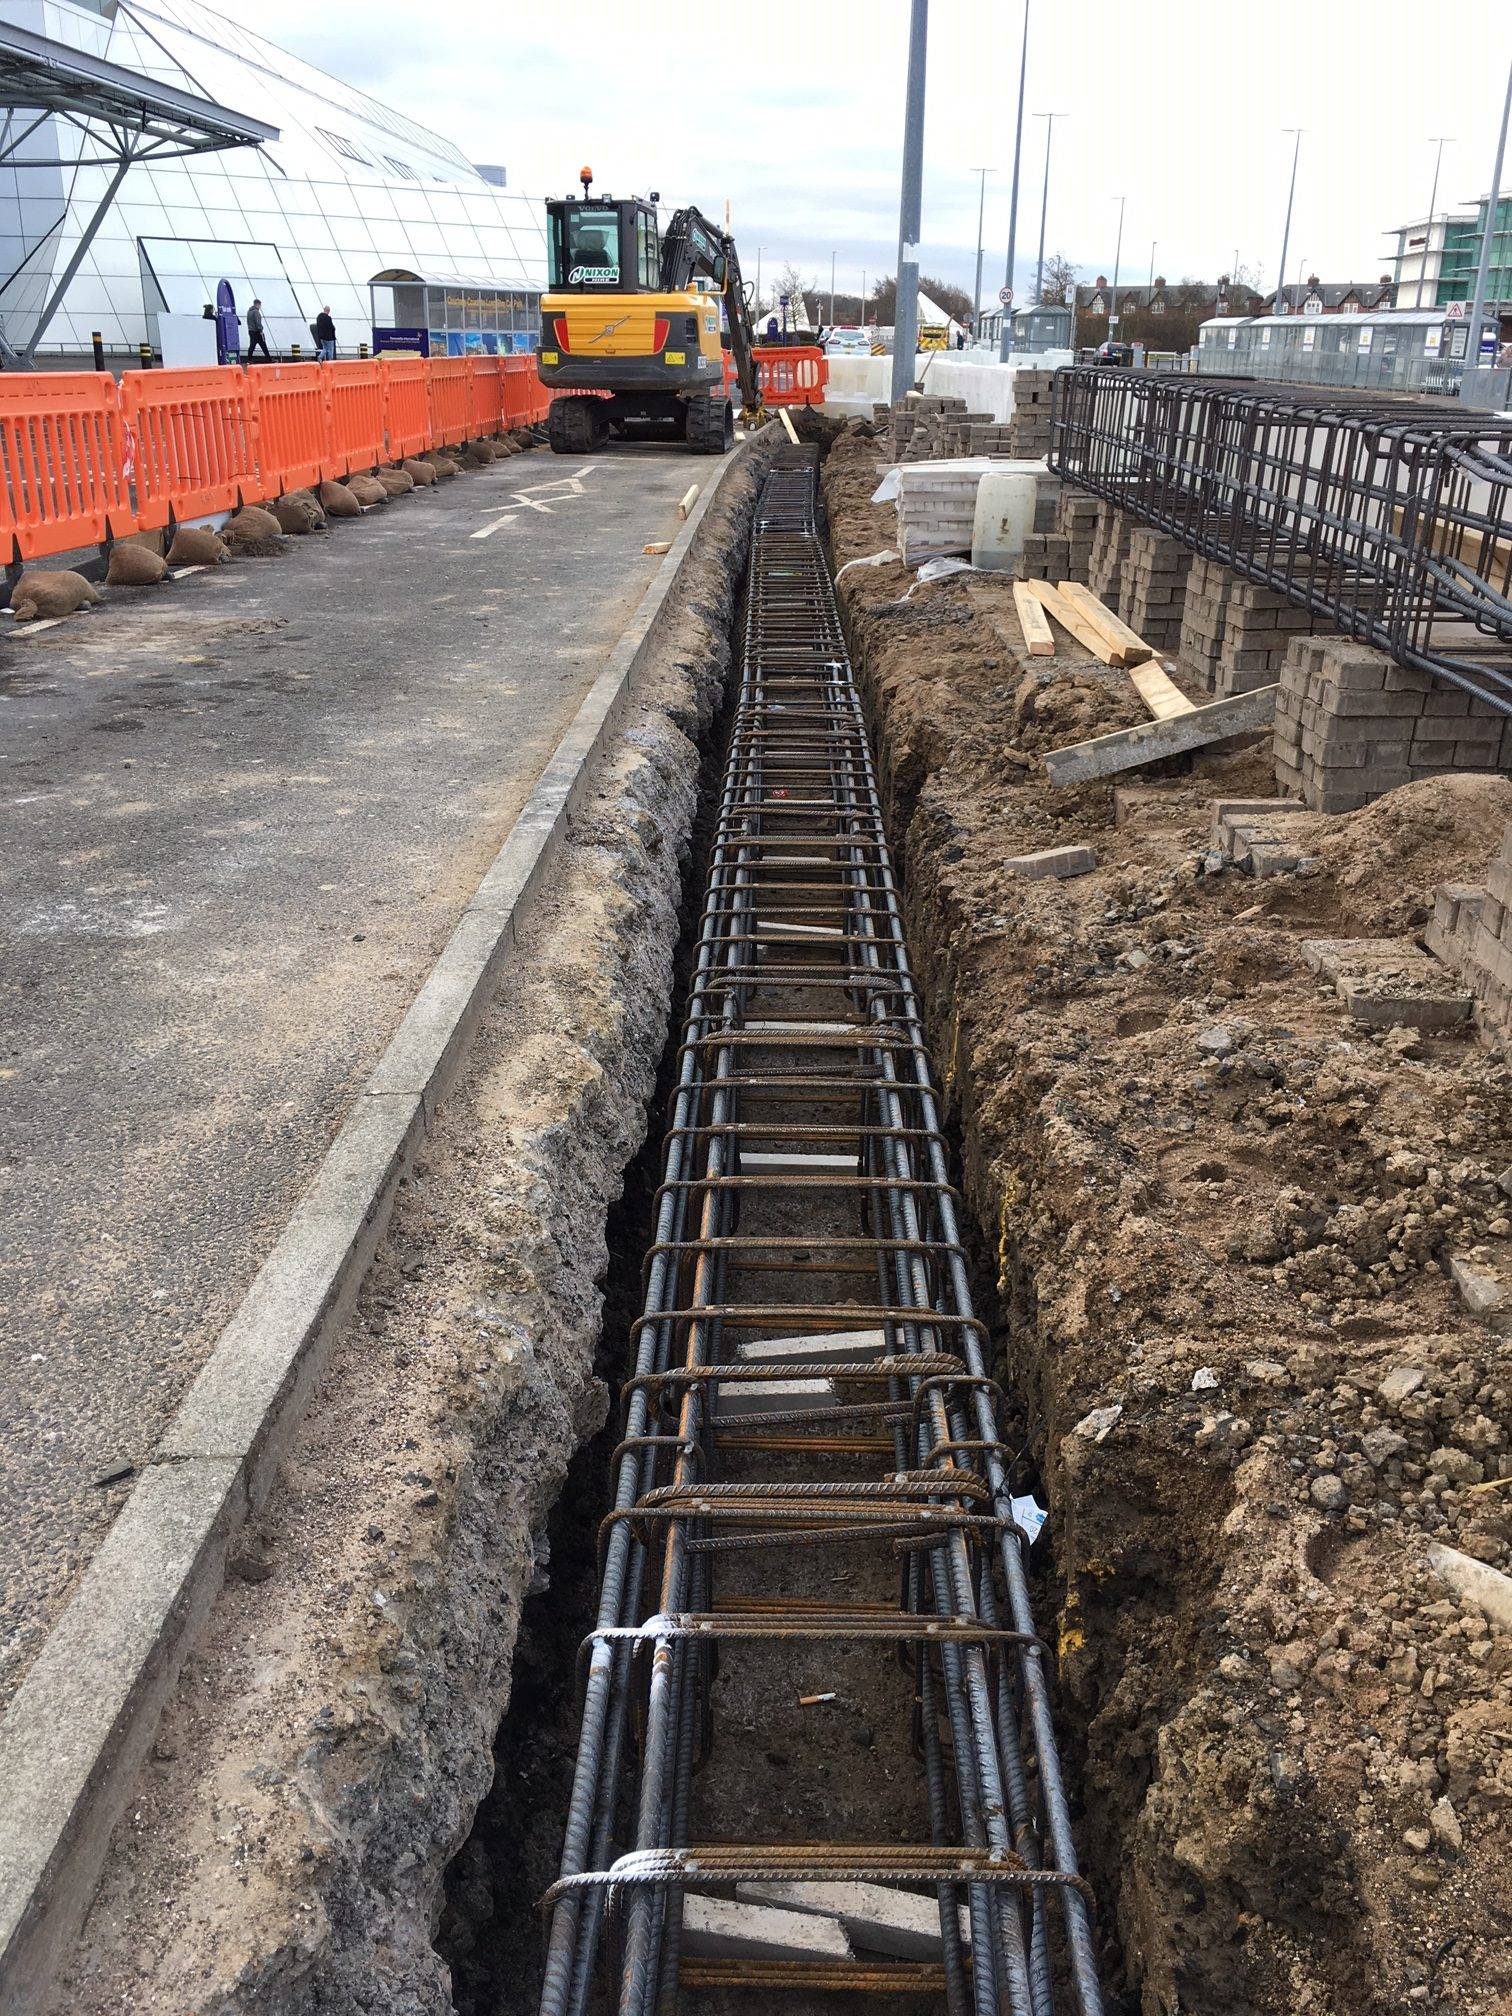
Rebar Reinforcement (option)
Concrete has very high compressive strength, but a low tensile strength. Tensile weakness means it will be pulled apart maybe easily. Reinforcing the concrete footing helps minimize tensile weakness there. Reinforcing with a couple pieces of rebar within a bollard sti ens it by minimizing the ability for the concrete to crack into pieces and move apart inside.
Use concrete
Poor concrete into the holes surrounding your bollard base, taking care not to overfill. When concrete has reached the top of the hole, spread it around evenly and use a trowel or similar tool to ensure a smooth surface. Once dry, attach your bollard to its base with nuts and bolts. Use a spirit level and adjust your bollard as necessary until it is completely vertical. Finally, you can fill in any gaps between the base and your bollard with gravel or pea shingle. Depending on your bollard's intended use, you may also want to add a reflective tape or coat of paint. Once everything is complete, your security bollard is ready for action! To keep it in top condition, it is recommended that you check for any damage or wear at least twice a year and re-secure any loose parts. With proper maintenance, your security bollard should last for many years.
Cost Of Installation ( Bollard not included)
When it comes to installing bollards, the most common material used is concrete. While the cost of concrete bollards depends on several factors, including the complexity of the project, the size and number of bollards, and the type of concrete used, in general, bollard concrete costs will range from $25 to $300 each.
The total cost of a concrete bollard installation depends largely on the size and amount of bollards needed, as well as the specific location of the installation site. It is important to take into consideration any additional costs such as excavation and landscaping, labor costs, permits, and other factors that may increase the overall cost. In addition, some municipalities may have specific regulations regarding the size and placement of bollards which can increase the cost of an installation.
Installation of concrete bollards requires specific skills and experience. Hiring a professional contractor who has experience in this type of work can help ensure a successful project. Contractors who specialize in bollard installation will also be familiar with local building codes and regulations, which can make the process smoother and help keep costs down.
Bollard Cover
Once you have your bollards installed, it’s time to measure for a bollard cover. A bollard cover is a decorative or protective piece that fits over the top of the bollard and helps to improve its appearance. When measuring for a cover, you will need to take into account the size and shape of your bollard as well as the thickness of its pipe wall.
Start by measuring the circumference of the bollard pipe, making sure to include the thickness of the pipe wall when taking this measurement. Then, measure the height of the bollard, starting from the ground up to the top edge of the pipe. Be sure to take into account any flanges or other protruding pieces that might be present. Once you have these measurements, you can purchase a bollard cover that will fit snugly over your bollard.
When installing a bollard cover, start by lightly tapping it onto the top of the bollard using a rubber mallet. This will help ensure that it fits securely without damaging the bollard. Once it is in place, use an adhesive to secure it more firmly. Make sure to apply the adhesive evenly and allow it to dry before use. With these simple steps, you can easily add a cover to your bollards and complete your project.

Pictures: Bollard Canada, Video: Ideal Group | Bollard Installation Guide